
Nginx通过密码保护我们未公开的网站
2014年04月01日
有些时候,我们的网站服务器虽然架设起来了,但是还需要完善或者等待指定日期公开,那么就需要通过密码保护我们的网站了。
这里将介绍如何在Nginx网站服务器上简单保护未公开的网站,
要的结果是这样的:
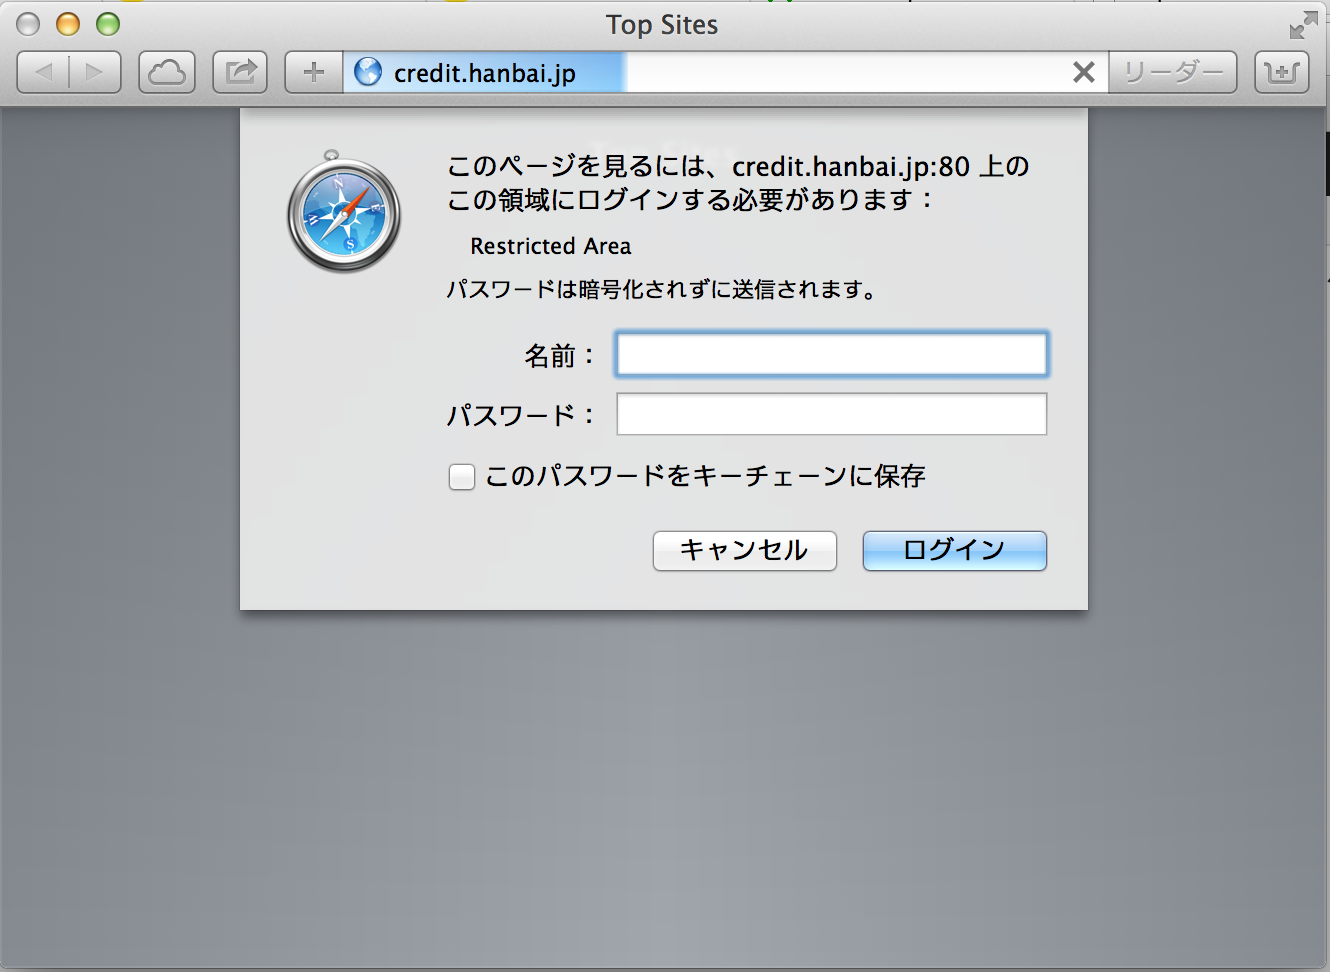
步骤如下:
1. 编辑/etc/nginx/conf.d/default.coonf
找到 location / {},在最下面添加两行 auth_basic “Restricted Area”; auth_basic_user_file /etc/nginx/conf.d/.htpasswd;
    #access_log  logs/host.access.log  main;

    location / {
        #root   /usr/share/nginx/html;
        root   /var/www/html/html;
        index  index.php index.html index.htm;
        auth_basic "Restricted Area";
        auth_basic_user_file /etc/nginx/conf.d/.htpasswd;
    }
注意,这里我们修改的是conf.d/default.php, 您的网站服务器的配置文件有可能不是此文件,可能会是上一节目录的nginx.conf, 或者其他,
视您的具体情况而定。
2. 接下来通过apache2-utils的htpasswd命令创建用户名与密码
# cd /etc/nginx/conf.d/
# touch .htpasswd
# htpasswd -b .htpasswd your-username your-password
centos6.4默认安装了apache2-utils,如果出现htpasswd命令错误,请确认是否安装了apache2-utils。
CentOS6.5 默认没有安装apache2-utils,我们可以通过以下方法加密密码
# cd /etc/nginx/conf.d/
# touch .htpasswd
# printf "your-username:$(openssl passwd -1 your-password)\n" >> .htpasswd
以上为MD5加密,也可以通过别的方式加密。
# 用crypt encryption方式加密
# printf "your-username:$(openssl your-password -crypt V3Ry)\n" >> .htpasswd
# 用apr1 (Apache MD5) encryption方式加密
# printf "your-username:$(openssl your-password -apr1 V3Ry)\n" >> .htpasswd
3. 最后重新启动nginx,以使配置生效。
/etc/rc.d/init.d/nginx restart